Rating of the best drywall putties in 2020

When you are thinking of home renovation, there are always many questions. For example, how to properly install drywall, can you do it yourself, do you need to prime it and what kind of putty to buy. The drywall itself is smooth and even, but it comes in a certain size, so it is impossible to avoid the joints between them. These irregularities, as well as the peeping heads of the screws, must be repaired with a putty.
This work is not difficult, but it takes a lot of time. First you need to decide on the putty. Putty is a white powder-like substance that is used in construction. With the help of this material, smooth walls, floors and ceilings are created. On top of the dried putty, paint or wallpaper can be applied.
How to choose a drywall putty
In large hardware stores, there is usually a huge selection of everything - not only putties, but also other fixtures for repairs. Therefore, it is very easy to make a mistake and buy not quite what you need. How to choose the right filler? First you need to understand what it is.
Firstly, among the many types of putties, you will immediately understand that not all are suitable for your purposes. There are putties for ceilings and floors, there are ones for covering up cracks and chips, but there are generally purely decorative ones that will not fulfill either the first or the second task 100%.
Secondly, based on the material contained in the putty base, gypsum, acrylic and cement mixtures are distinguished.
- Cement is used in rooms with a high moisture content - bathroom, toilet, as well as outdoors. It is difficult to work with such material, since in a dry state they are difficult to mechanical stress. Grinding occurs almost immediately after application, without waiting for the moment of drying. But it is produced quite rarely, since the cement mixture is more convenient to use in such cases when it will not be visible - for example, when laying tiles. The advantage of such a putty is its strength.
- Gypsum is used in dry rooms. Long-term exposure to moisture can destroy it. Gypsum putty looks more neat and easier to work with when applying thin-layer decorative coatings.
- Polymer putty combines the best qualities of cement and gypsum putties, that is, it can be used in any room. It provides perfect results, is easy to apply, is not very expensive, but is very expensive. Acrylic and latex putties are distinguished among the polymeric ones. Acrylics are used in both indoor and outdoor work. It is used only in order to bring the surface to perfect condition. Therefore, it is applied very thinly - about 1 mm. This putty is ideal for finishing the ceiling as it can make it mirror-like. Latex putty can be easily applied in a layer of about 3 mm, it is excellent especially for drywall sheets. Such a putty should dry out indoors without drafts.
Putties are sold in dry and liquid form.Dry mixtures must be diluted with water according to the instructions. The diluted putty must be used immediately, but the dry putty can be stored for a long time, which is its advantage. Putties in buckets do not require any additional manipulations, they are completely ready to work. They are stored longer than diluted dry mixtures, but, nevertheless, they cannot compete in terms of shelf life with dry mixtures.
Also distinguish between starting, finishing and universal putties. The starting line is used to pre-level the walls. It perfectly copes with its task, but its appearance is rather rude, therefore it is necessary to use a finishing putty - an additional element that makes the wall or ceiling smooth and uniform. The universal putty can be used as a substitute for starting and finishing with slight unevenness of the surface.
For drywall, gypsum plaster works best. Polymer has also proven itself well. If you can afford it at a price point, then you can take it.
Rating of drywall putties
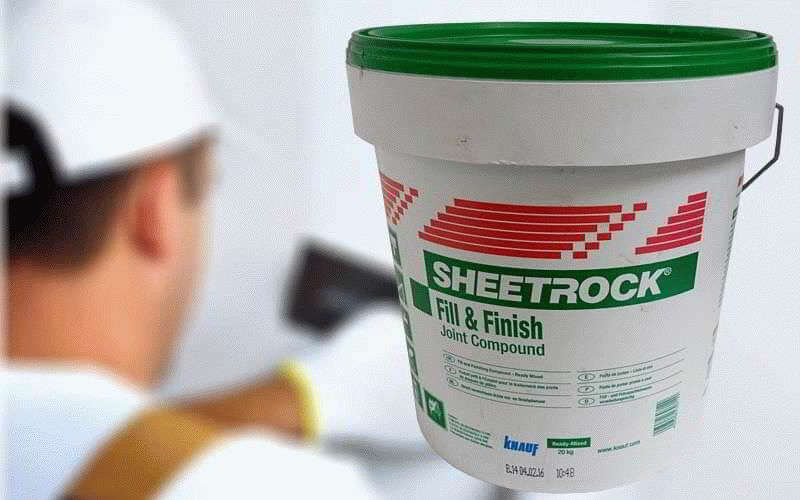
Sheetrock APJC
This is a high quality finishing putty. Together with Vetonit it is one of the best putties. With the putty of this brand, you can get a surface of the highest quality. It is sold ready-made. For 28 kg, the price is 1400 rubles.
Advantages:
- Easy to use, no need to knead anything;
- Perfect surface quality;
- Durability;
- A sturdy container that can be used after putty for other repair work.
Disadvantages:
- High price.
WeberVetonit JS
Plaster for drywall one of the best firms that can be found in Russian stores. High quality, pleasant to work with. This putty belongs to the finishing polymer, it perfectly seals the seams of gypsum plasterboards, is suitable for continuous application to drywall and for further use of the surface for wallpapering or painting. The price is about 500 rubles for 20 kg.

Advantages:
- White color that does not turn yellow over time;
- Easy to apply, pleasant to work with;
- Does not crack when dry.
Disadvantages:
- For dry rooms only.
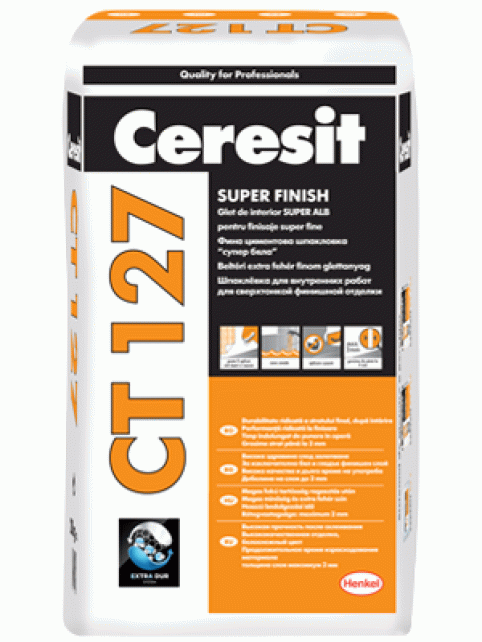
Ceresit CT 127
Polymer putty with good quality and affordable price. Packaged in 25 kg bags. The average price is 560 rubles per package. Designed for topcoat.
Advantages:
- Easy to apply;
- Convenient to use;
- Environmentally friendly;
- White, perfect for gluing wallpaper.
Disadvantages:
- Does not even out deep cracks, holes, does not align seams and fasteners;
- Cannot be used in damp rooms.
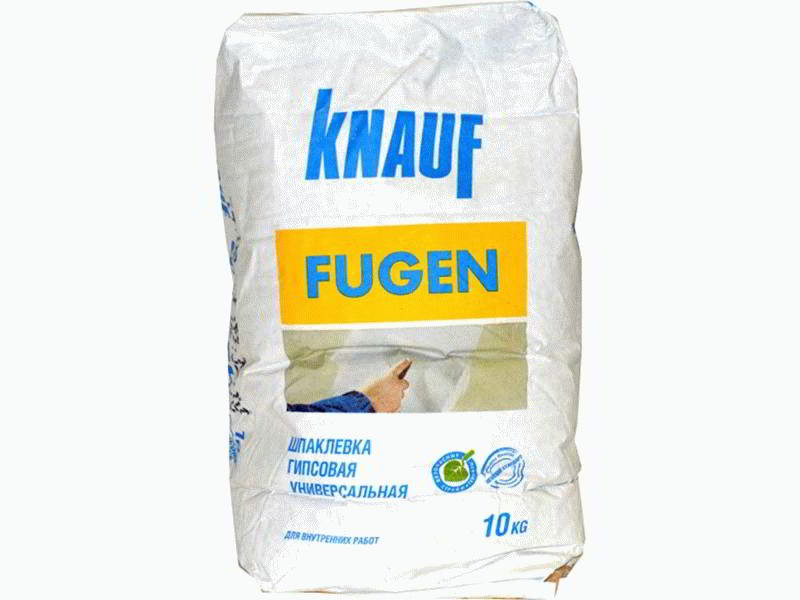
Knauf fugen
Known to many as Fugenfüller. It is used for sealing drywall joints, cracks, thin-layer puttying of plastered surfaces, gluing drywall sheets. It is a versatile blend. Produced in dry form.
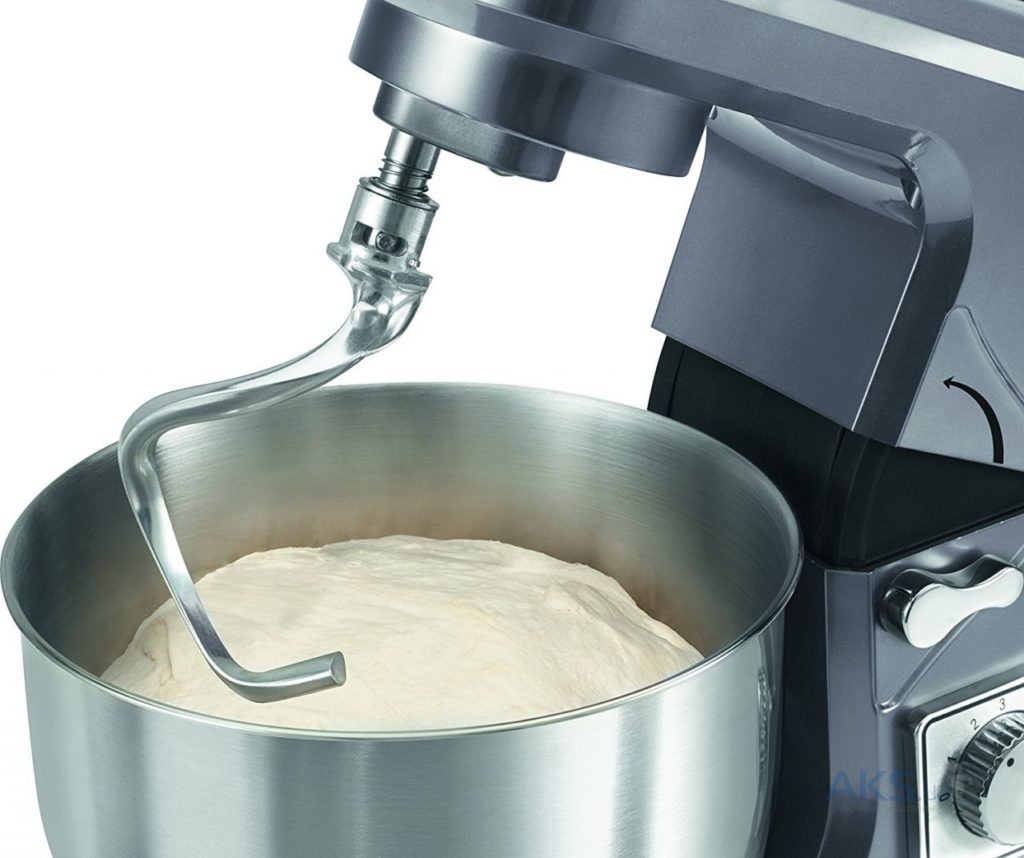
For mixing, the mixture must be slowly poured into water until a small hill of powder forms on top. Then the mixture needs a little time to swell, and only then it can be kneaded, moreover, manually. It will be ready to go in a few minutes. For a package of 25 kg, you need to pay 400 rubles.
Advantages:
- Durable;
- Low consumption;
- High quality surface for painting or wallpapering.
Disadvantages:
- Dries quickly, although for some this is a plus;
- Hard to sand;
- Maximum application layer - 3 mm;
- Lies in spots, there may be dark spots when gluing thin wallpaper.
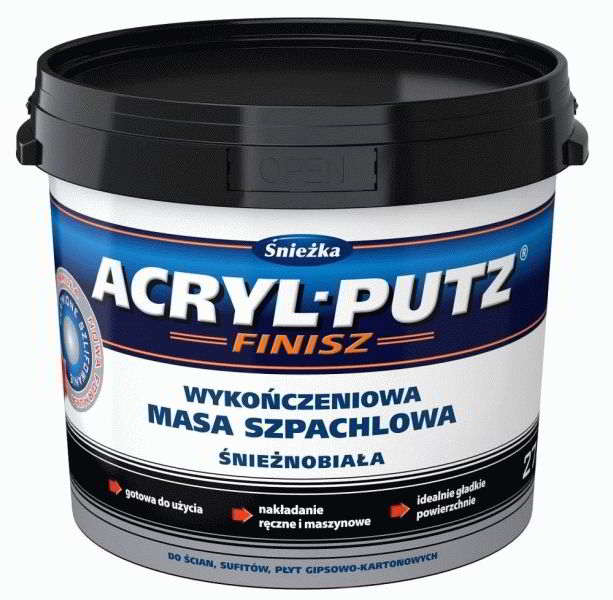
Sniezka Acryl-Putz Start "2 in 1"
It is a multipurpose putty mixture. Made on the basis of high quality plaster. Perfect for sealing drywall joints, for leveling uneven walls and ceilings. The price for 20 kg of dry mix is 365 rubles.
Advantages:
- Easy to apply and sand;
- Dries quickly;
- Evens well and at the same time creates a flat surface for painting.
Disadvantages:
- According to customer reviews, this putty showed itself poorly when painting, because it immediately falls off.
Which putty did you like?
How to properly putty drywall
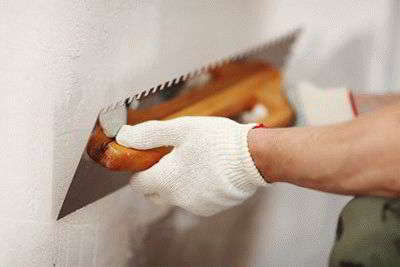
To do quality work, you need to prepare the tools. Be prepared that you will need two spatulas - wide and narrow, roller, brush, knife, sandpaper. To seal the seams, you will need a special mesh, popularly called "serpyanka". The mixture itself is also needed for the putty.
Before puttingty, you need to treat the surface with a primer. Seams are primed and then filled with putty. While the putty has not yet dried, you need to immediately install the reinforcing tape. Sealing of joints ends with additional application of leveling material.
It is necessary to completely fill the seams of gypsum plasterboards, but at the same time level the putty so that the minimum layer thickness is obtained. When everything is thoroughly dry, the areas with putty are processed with sandpaper to level the surface.
Wall corners require special attention. The inner corner is glued with a reinforcing net, while its half is located literally at the junction of the walls. If an ordinary serpyanka is used, then PVA glue is applied to its plane with a brush, after which it is attached and the reverse side is coated with glue.
After the glue has dried, a starting putty is applied to both sides of the corner with a simple spatula. The layer should not be very thick, but sufficient to cover the mesh. The applied putty is leveled with an angled trowel. When the surface is dry, it is necessary to process it with sandpaper in order to remove all bulges and sagging.
Finishing the outer corners of the plasterboard walls also has its own specifics.
A layer of starting putty is applied to both sides of the joint. The layer thickness should not be large. The perforated corner is placed over the processed corner and pressed down so that the putty comes out through the holes. Next, you need to level the putty, for which you will most likely need to apply more mixture. At the end, it is necessary to remove the excess of the not yet hardened putty.
After drying, the surface is also treated with sandpaper. The final stage of finishing the corners is carried out in the process of the final putty of the walls. When finishing the outer corner with a plastic corner, it is applied to the corner and fixed with a construction stapler. Putty is applied on both sides of the corner and leveled with a narrow trowel. All excess putty at the end of the corner must be removed before it dries. At the end, when the mixture is dry, you need to check the surface for irregularities and, if necessary, level with sandpaper.
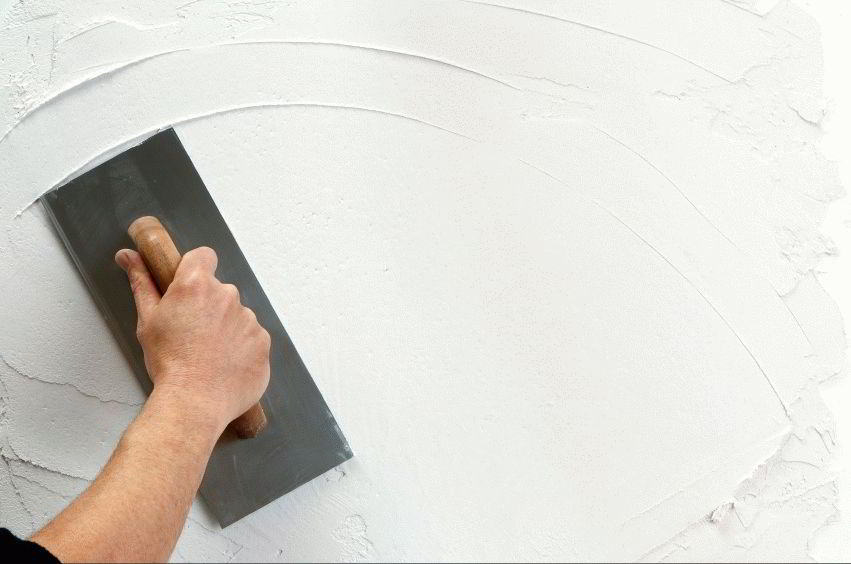
When all the seams and corners are sealed, proceed to puttying the entire area of the plasterboard coating. This is done so that the entire area is absolutely even, the sheets of drywall do not bend anywhere. This is especially important if wallpaper or paint will be applied to the drywall. For the finishing of the wall or ceiling, all irregularities are carefully rubbed with sandpaper.
To make it easier to apply the mixture over a large area, a wide spatula is used. The putty layer should be thin and even. If wallpaper is glued to the walls, then there will be three layers of putty: two at the joints of drywall and one on the entire surface.For painting, a more thorough study of the entire surface is needed, so here you need to do one more layer - re-process the entire area of the drywall.
Usually, the consumption of putty depends on the scale of the work and on the number of defects that need to be repaired. Often, workers are guided by the following indicator: 1 kg of dry gypsum putty per 1 square meter. Of course, it is better to take with a small margin. And it is imperative to follow the application technique.
You need to dilute the dry mixture in such an amount that it lasts less than half an hour. If more time passes, then the putty will simply dry out and there will be a sense of it. It is also not recommended to redo work already done, as you can make the surface even more uneven, and also reduce the durability of the putty.
Helpful hints
- Professionals advise, even at the stage of installation of drywall, to cut the edges of the sheets, making chamfers. This will increase the gap in order to more densely fill it with putty. If the chamfer was not made, then it can be obtained using a knife on an already finished plasterboard structure. Some masters ignore this moment altogether.
- You can use both serpyanka tape and reinforcing cardboard tape.
- If the surface will be covered with ceramic tiles, then plasterboard plastering is not required. But it is imperative to prime the surface and putty the seams.
Step-by-step video instruction from a professional:
new entries
Rating of the best klupps for 2020
Views: 7
Rating of the best snow shovels for 2020
Views: 142
Ranking of the best fiber for 2020
Views: 122
Categories

The best men's running shoes in 2020
Views: 87681

Rating of the best hotels in Turkey in 2020
Views: 6013


Best baby backpacks in 2020
Views: 8099

Rating of the best kneading machines for 2020
Views: 1099
Useful
Ranking of the most economical printers for 2020
Views: 1001

Rating of the best bathroom scales for 2020
Views: 1877


Popular articles
-

Top rating of the best and inexpensive scooters up to 50 cubic meters in 2020
Views: 97661 -

Rating of the best materials for noise insulation for an apartment in 2020
Views: 95022 -
Rating of cheap analogues of expensive drugs for flu and colds for 2020
Views: 91751 -
The best men's running shoes in 2020
Views: 87681 -

Top ranking of the best smartwatches 2020 - price-quality
Views: 85091 -
Best Complex Vitamins in 2020
Views: 84801 -
The best dye for gray hair - 2020 top ranking
Views: 82406 -
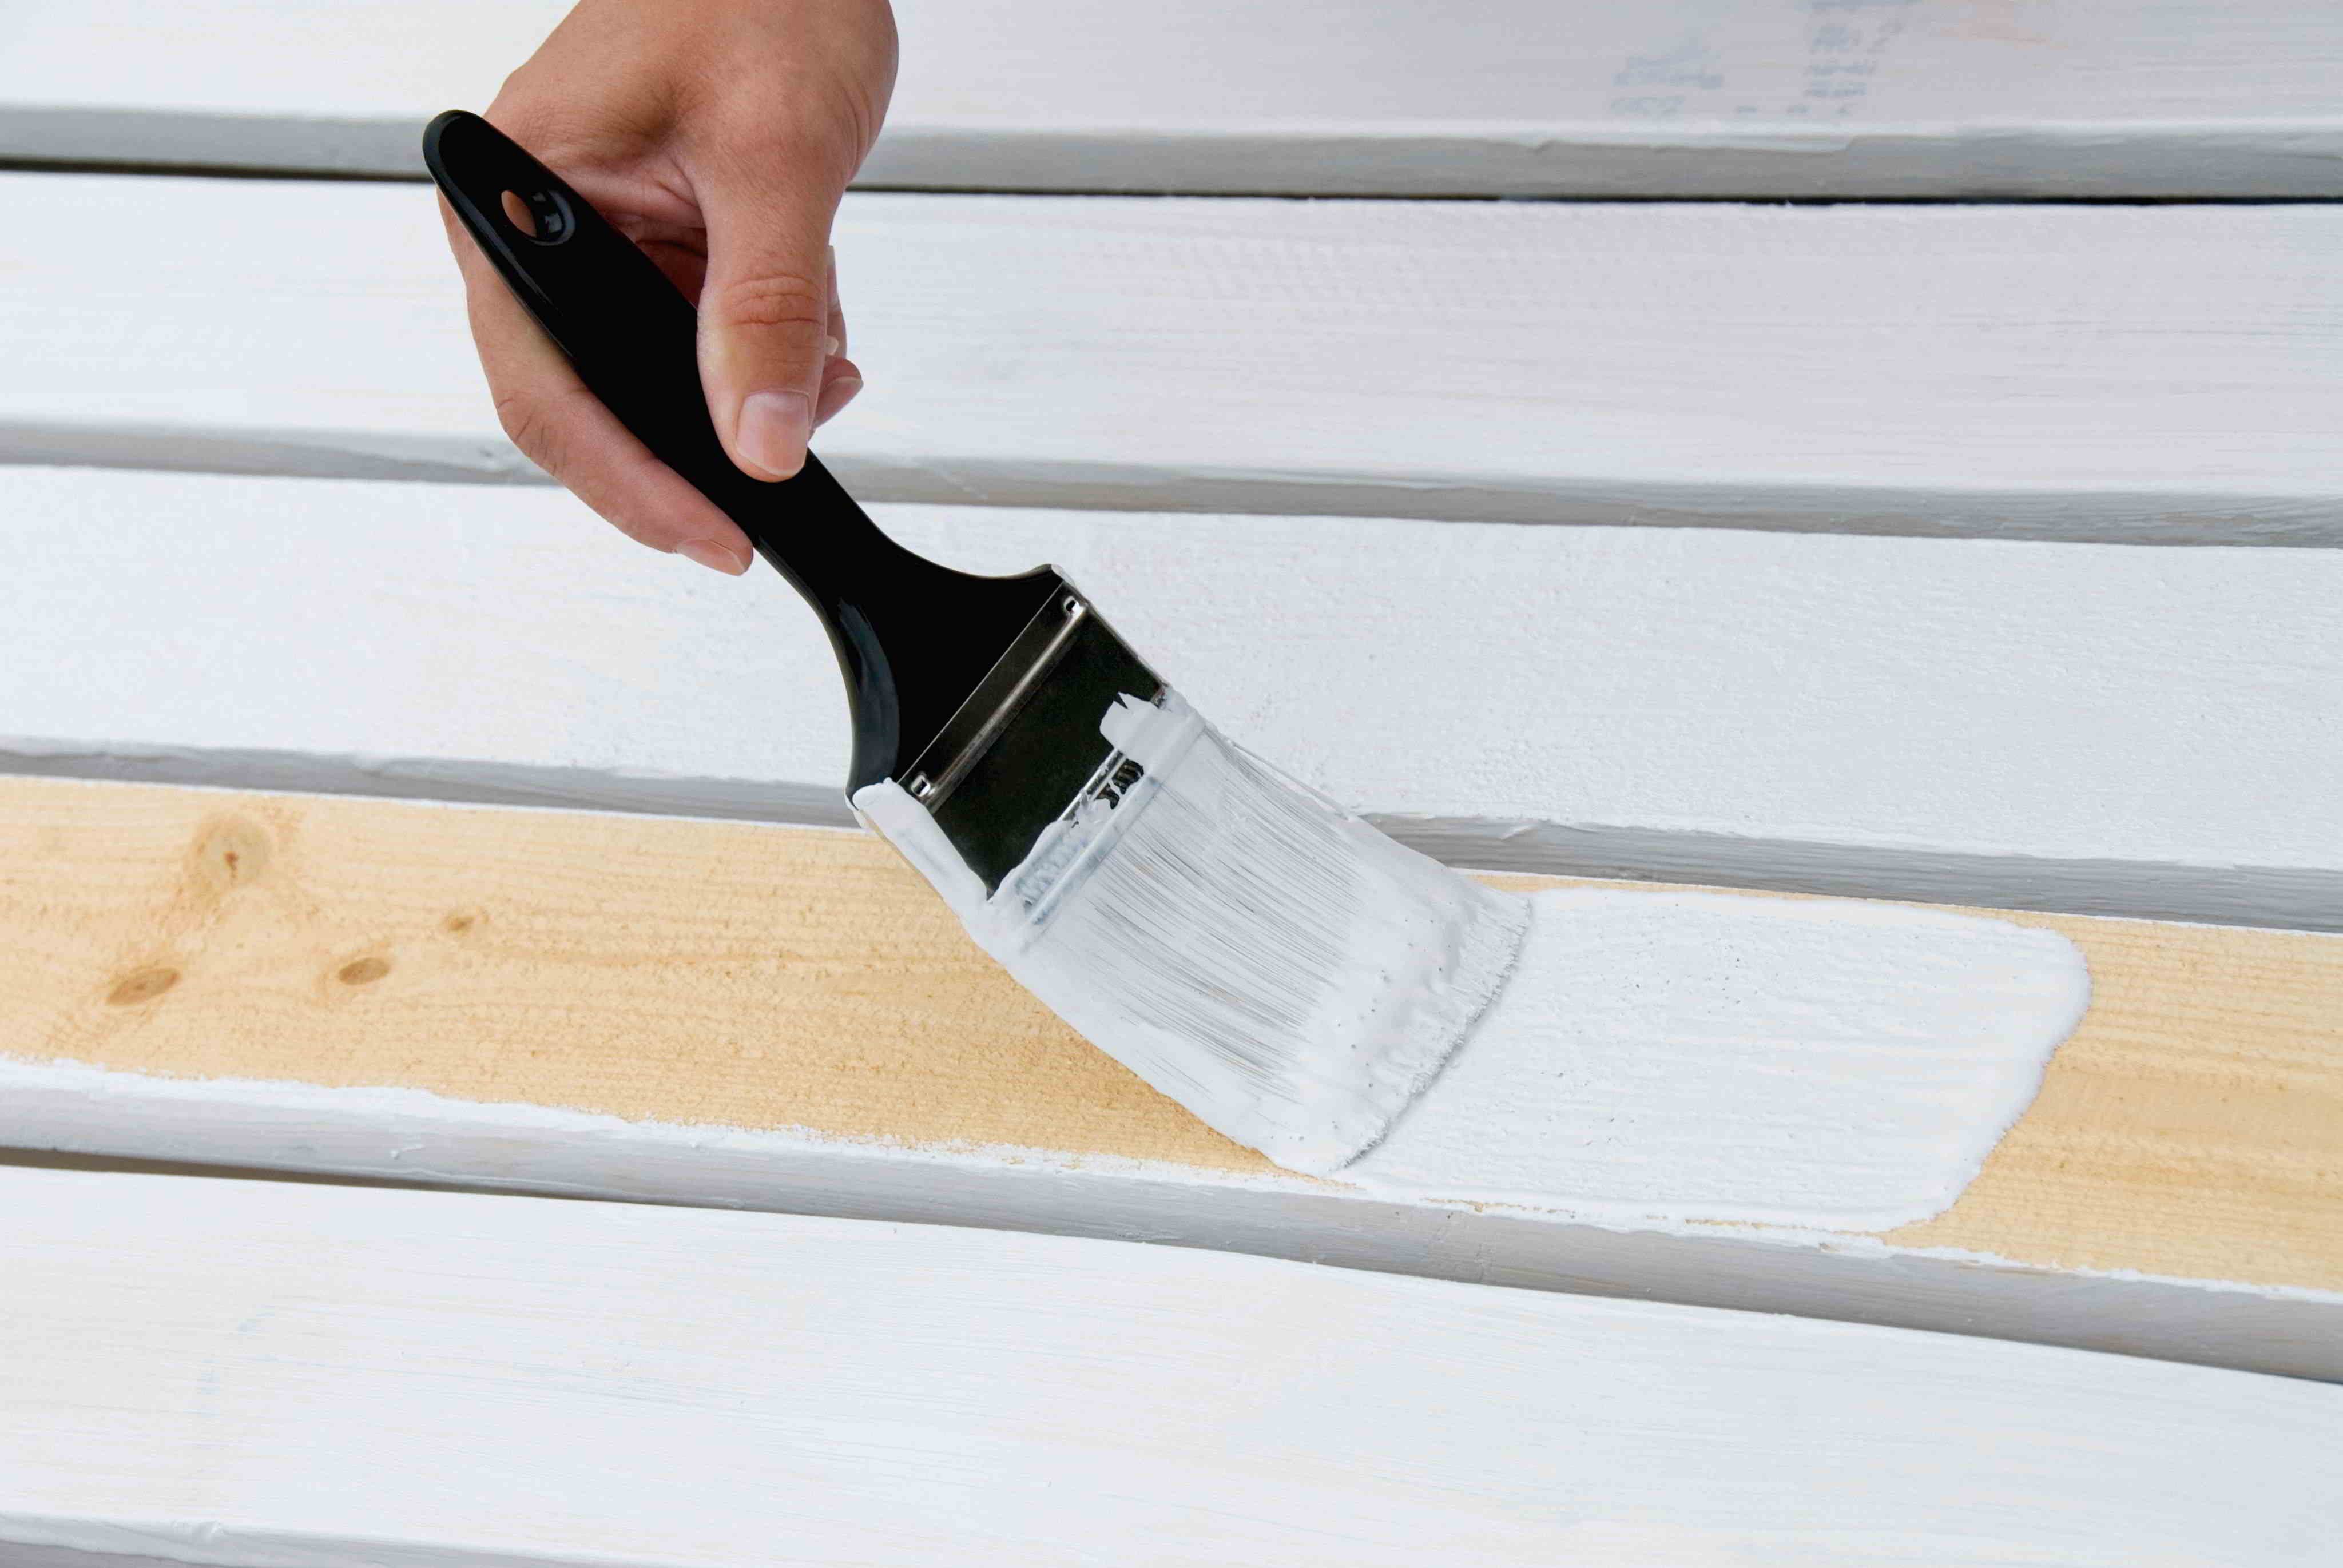
Rating of the best wood paints for interior use in 2020
Views: 77202 -
Ranking of the best action cameras from China in 2020
Views: 75269 -
Rating of the best spinning reels in 2020
Views: 74827 -
The most effective calcium supplements for adults and children in 2020
Views: 72463 -

Top rating of the best means for male potency in 2020 with a description
Views: 68296